Tools Setup - Mihir
Blog of How I got the Tools Setup to Work
- Remember Forever Quiz
- Step 1: Remove Nighthawk Directory
- Step 2: Making a new directory
- Step 3: Opening Virtual Environment and Deploying
Remember Forever Quiz
In this quiz, I removed the nighthawk directory from the home directory and then recreated it, launching my own blog again on localhost.
Step 1: Remove Nighthawk Directory
To remove the directory, to get started with the quiz, you first have to run rm -rf nighthawk.

Now, our nighthawk directory where our code originally was is deleted.
Step 2: Making a new directory
Now, we need to make a new, fresh nighthawk directory to store our student and portfolio repositories. We do this by running the following commands:
mkdir nighthawk
cd nighthawk
Then, once we’re in the directory, we can clone our student and Mr. Mortensens portfolio repository.
git clone https://github.com/Hypernova101/MihirCSP.git
git clone https://github.com/nighthawkcoders/portfolio_2025.git
Now, to access my code, I need to run the following command:
code MihirCSP
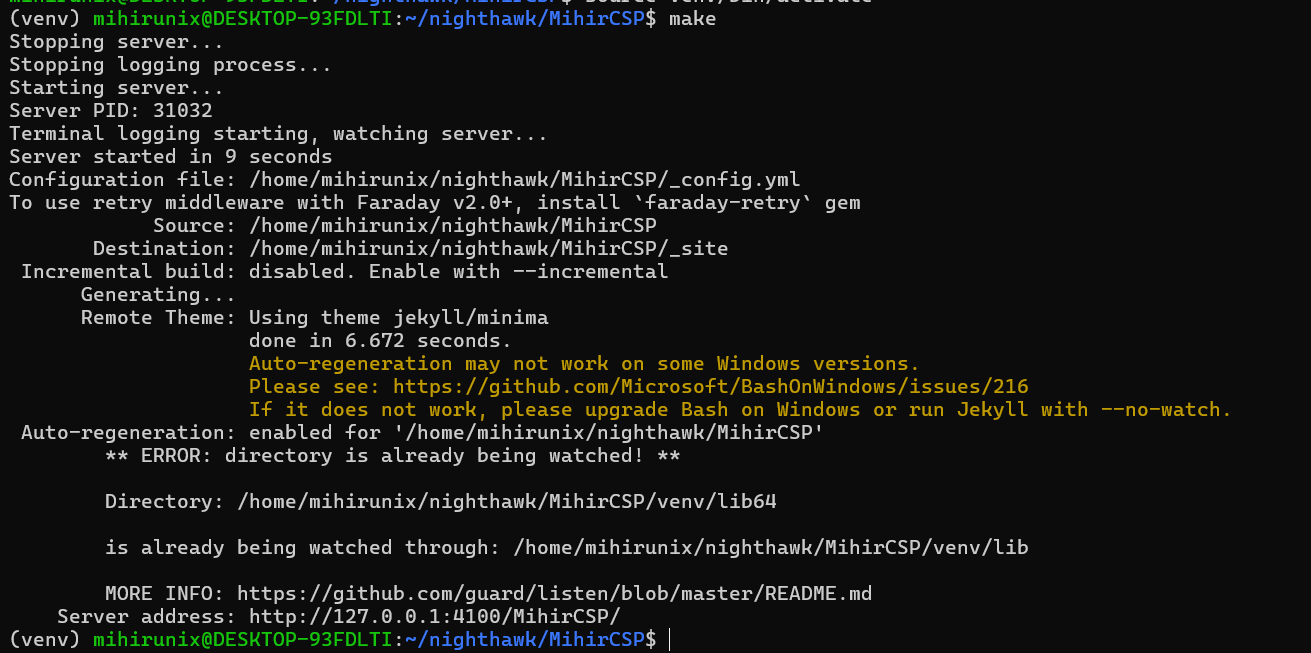
Step 3: Opening Virtual Environment and Deploying
To open the virtual environment, we run the command source venv/bin/activate.

Now, we can run the make command to open our blog on localhost. Here, live changes are reflected, and once we’re happy, we can push it to GitHub.
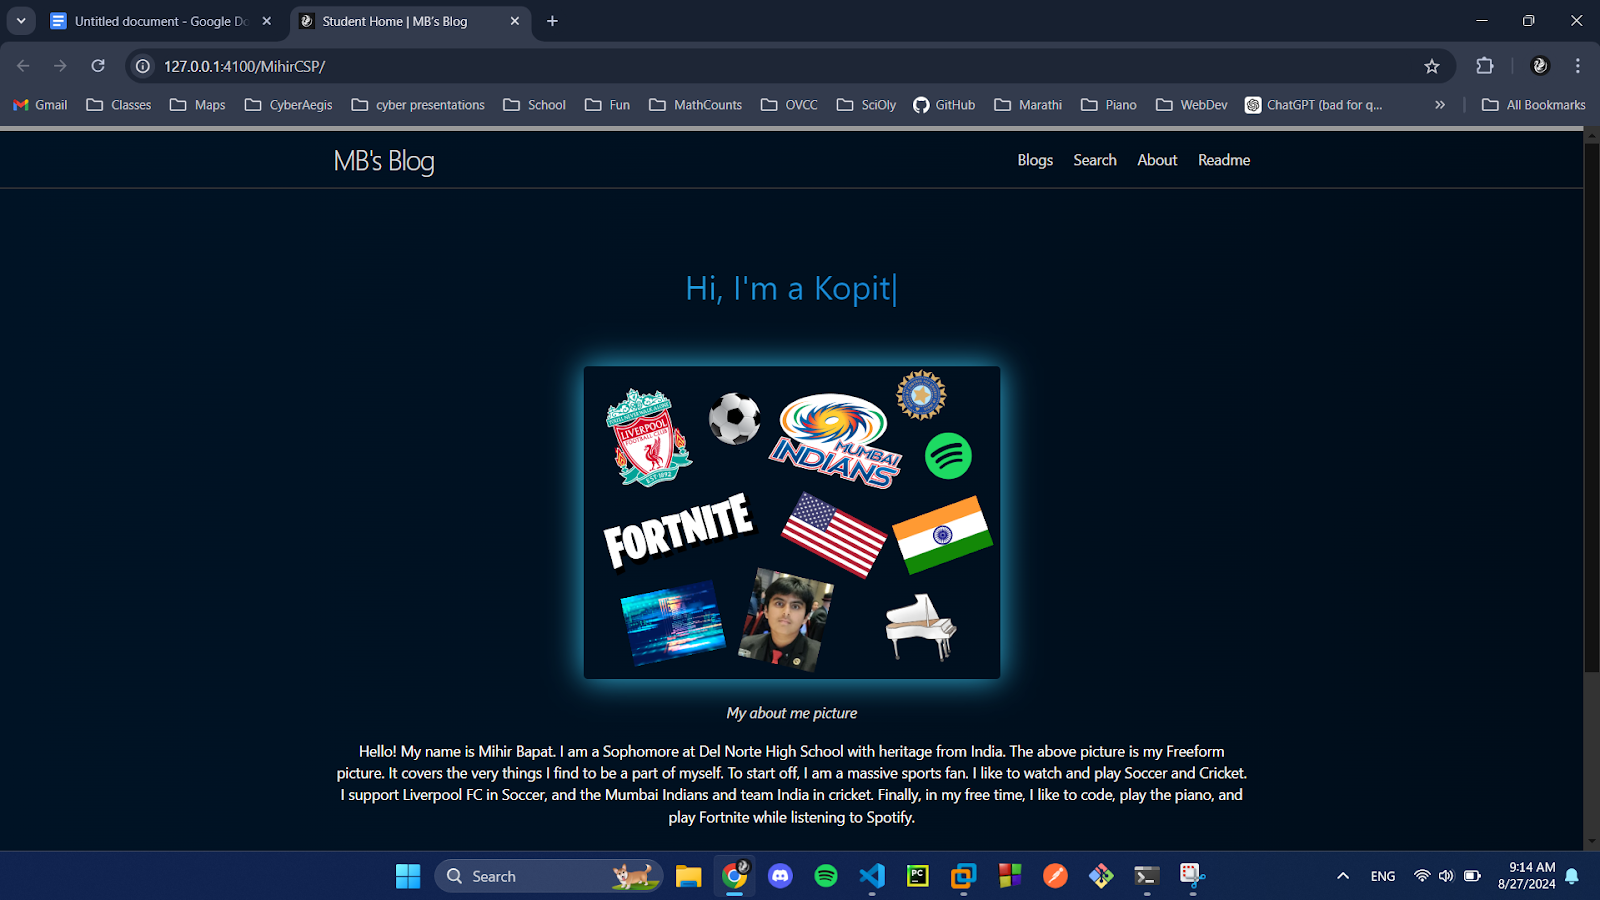
This is how localhost looks like on my student repository:
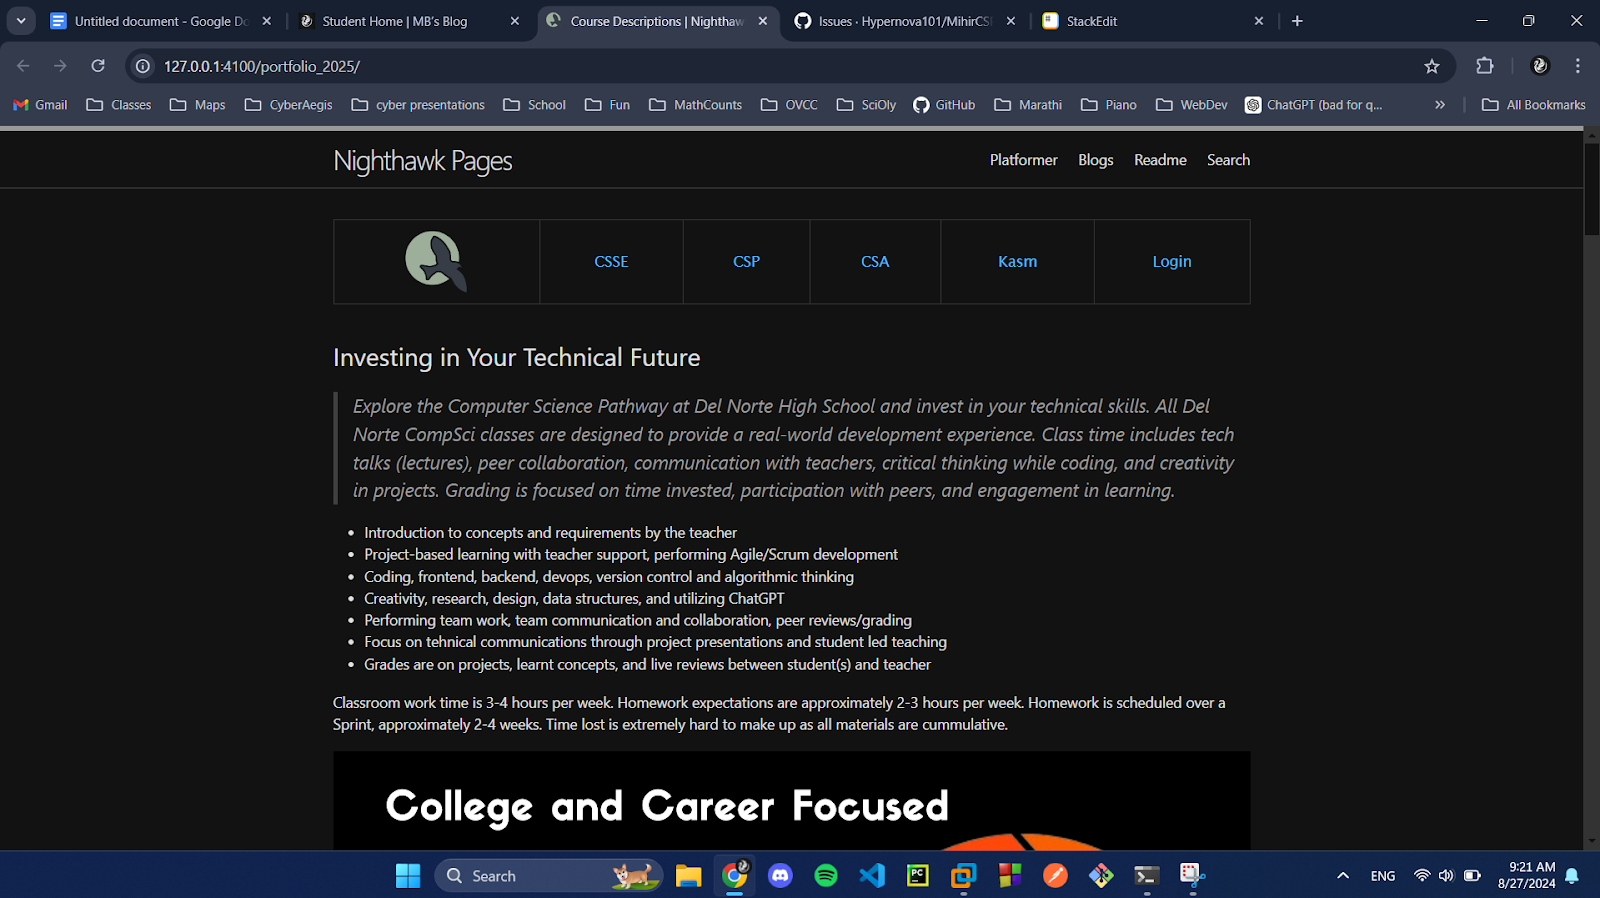
And this is how localhost looks like on the portfolio repository.
Now, all we have to do is push our code to GitHub to save, and we’re done!